Job costing is the process of tracking every cost that goes into a specific job — labour, materials, and overheads — so you know whether you made or lost money on it. In a jobbing manufacturing workshop, where every job is different, accurate job costing is the difference between quoting profitably and guessing wrong.
This guide walks through the method step by step, with a worked example using real numbers from a typical NZ engineering workshop.
Step 1: Define your cost categories
Every job cost breaks into three buckets:
- 1Direct labour — the hours your staff spend working on the job, multiplied by their loaded rate (wages + ACC + KiwiSaver + overheads).
- 2Direct materials — raw materials, consumables, and bought-in components used on the job.
- 3Overhead allocation — rent, power, depreciation, admin salaries, and other fixed costs spread across jobs using a recovery rate.
Step 2: Calculate your loaded labour rate
Your loaded rate is what each hour of labour actually costs you — not just the hourly wage.
Take a workshop employee earning $30/hour. Add employer KiwiSaver (3%), ACC levies (~1.4%), annual leave loading (8%), and sick leave loading (~3%). That $30/hour becomes roughly $34.60/hour in direct cost. Then add your overhead recovery rate (see Step 3) and you get the fully loaded rate.
Step 3: Calculate your overhead recovery rate
Total your annual fixed overheads — rent, power, insurance, depreciation, admin salaries, vehicle costs, everything that isn't directly tied to a job. Divide by total available productive hours across the workshop.
Example: $480,000 annual overheads ÷ 16,000 productive hours (10 staff × 1,600 productive hours each) = $30/hour overhead recovery rate. Your fully loaded rate becomes $34.60 + $30.00 = $64.60/hour.
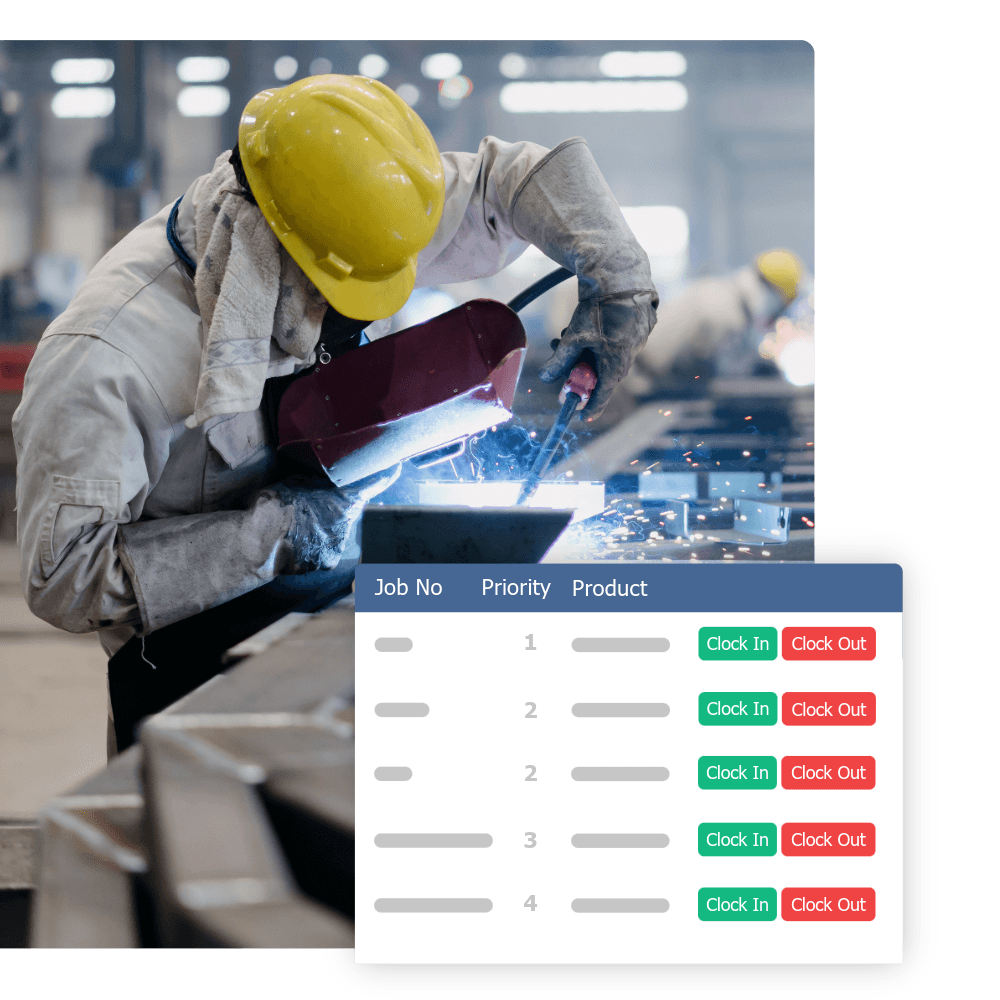
Step 4: Track time against the job
This is where most workshops fall down. You can calculate perfect rates, but if the time data is wrong, the job cost is wrong. Paper timesheets are typically 15–30% inaccurate. Digital time tracking — where workers clock onto specific jobs and tasks from the floor — closes that gap.
Step 5: Add materials and bought-in costs
Track materials used against each job. In a workshop, this means raw steel, timber, fasteners, paint, and any sub-contracted work (e.g. powder coating, anodising). Some workshops use their accounting software for this; others track it in their workshop management system.
Step 6: Compare against the quote
Once the job is complete, compare total actual cost (labour + materials + overhead) against what you quoted. This is the number that matters. If you quoted 40 hours and the job took 52, you need to know — and you need to know which stage went over.
15–30%
Typical inaccuracy in paper-based time tracking, according to industry benchmarks
Worked example
Job: custom stainless handrail system, quoted at $8,200.
- Quoted labour: 50 hours × $64.60 = $3,230
- Quoted materials: $2,800 (stainless tube, fittings, consumables)
- Quoted overhead: included in loaded rate
- Total quoted cost: $6,030 → margin: $2,170 (26%)
Actual result (tracked via Empower):
- Actual labour: 58 hours × $64.60 = $3,747 (8 hours over — 2 hours rework on a weld, 6 hours underestimated fitting)
- Actual materials: $3,050 ($250 additional fittings for a design change)
- Total actual cost: $6,797 → actual margin: $1,403 (17%)
Without tracking, this job looks profitable at 26% margin. With tracking, you see the real margin was 17% — and you know exactly where it leaked. Next time you quote a similar job, you'll add 2 hours to the welding stage and 6 hours to fitting.
Making it automatic
Calculating job costs manually works for a few jobs a month. Once you're running 10+ concurrent jobs with a growing team, the spreadsheet breaks down. That's where job costing software like Empower comes in — it captures time from the floor, calculates costs live, and compares against the quote as the job progresses. By the time the job ships, you already know the margin.