Home > Factory Productivity and Scheduling > Advanced Topics > Attachments > Adding Attachments To Products
Adding Attachments To Products
To add an Attachment to a Product
1. Ensure Attachments have been enabled in Tools > Settings - see Enabling Attachments.
2. Ensure you have logged on to a cloud based storage solution - for more information - see Attachment Types.
3. From the Main Management Menu select either:
3a. Set Up > Product - you should see a page similar to

3b. Or alternatively from the Main Management Menu select Product > Edit - you should see a page similar to

4. In either case click on the Attachment link (highlighted above) to display a pop up page asking you to choose a file

5. Either drag and drop a file on to the Choose File button or click on the Choose File button and select a File to upload. Then click on Upload to relevant the storage solution (depending on the Attachment Type you are using)
Note that if you add a single file (rather than adding a file in a folder) then you will not be able to add additional Attachments or a Folder.
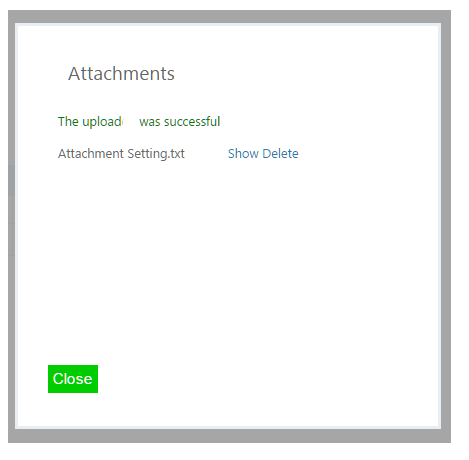
6. Once the file has been uploaded a message similar to the following will be displayed
7. To upload more than one file, first add a folder - see Adding Folders.
See also
|