Home > Factory Productivity and Scheduling > Advanced Topics > Projects > Complete Projects > Making a Complete Project
Making a Complete Project
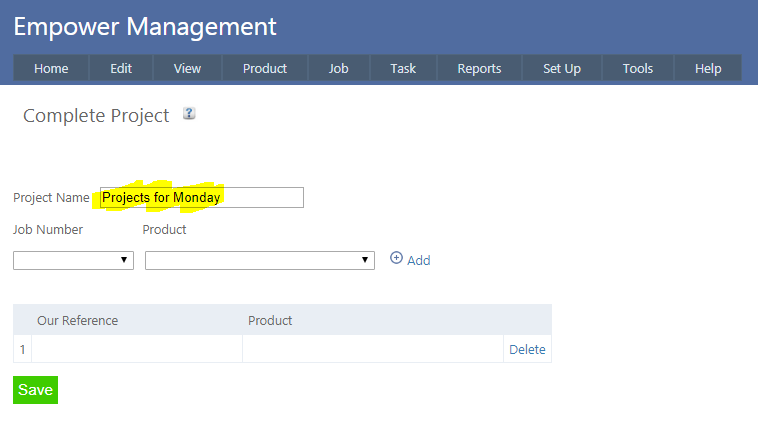
2. Enter a name for the Project.
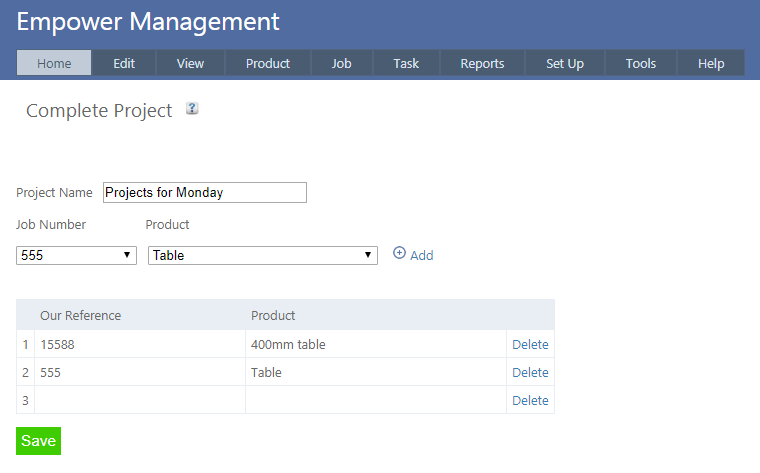
4. From the drop down Product box, select the Product you want to be part of the Project and click Add. 5. This will add the Job Number and the Product to the Project. Once the second Job and Product is added your page should look similar to 6. You can add as many lines as you wish. Click Save to create the Project. 7. Each Project can be assigned in the same way that a (non Project) Task is assigned. See Assigning Tasks.
Or alternatively the Projects can be Auto Assigned - see Auto Assigning Complete Projects